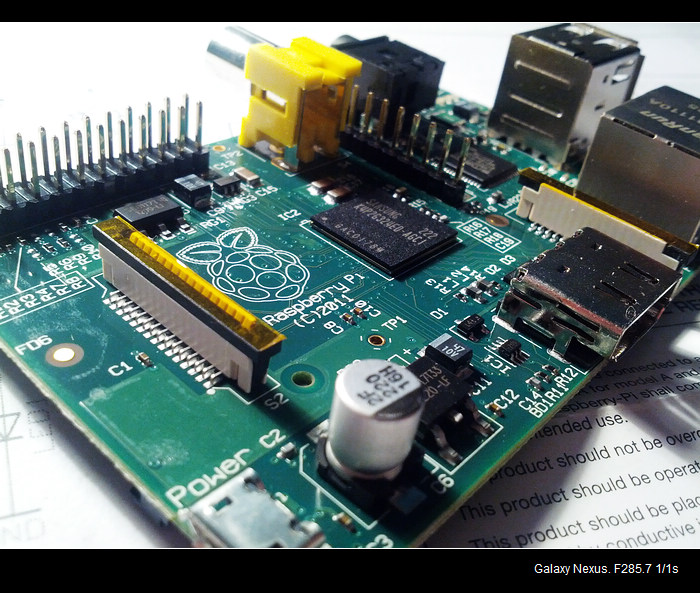
托rock的福,跟风败了个Raspberry Pi,(破手机照的,还可以吧 ^_^),安装配置如下:
 第一步:灌操作系统
准备个SD大卡,至少2G,下载对应的系统镜像(我下的
2012-07-15-wheezy-raspbian.zip)
Raspbian “wheezy”
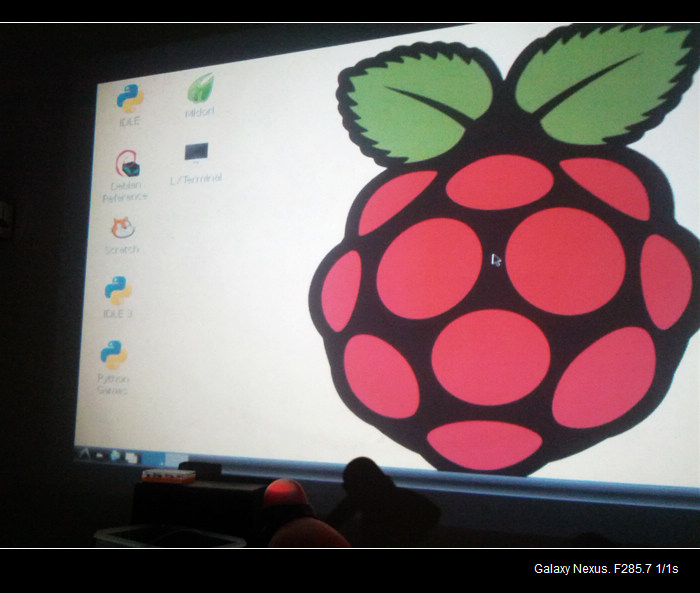
If you’re just starting out, this is the image we recommend you use. It’s a reference root filesystem from Alex and Dom, based on the
Raspbian optimised version of Debian, and containing LXDE, Midori, development tools and example source code for multimedia functions.
Arch Linux ARM
Arch Linux ARM is based on Arch Linux, which aims for simplicity and full control to the end user. Note that this distribution may not be suitable for beginners.
QtonPi
QtonPi is an Embedded Linux platform plus SDK optimized for developing and running Qt 5 Apps on Raspberry Pi. More information is available here.
Windows下使用
Win32DiskImager 把解压缩后的img文件烧录到SD卡,记得别选错分区。
第二步:连接硬件
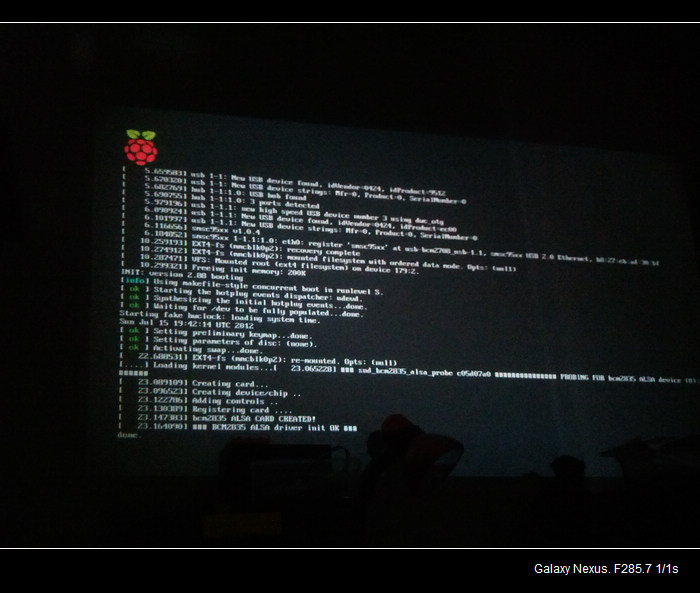
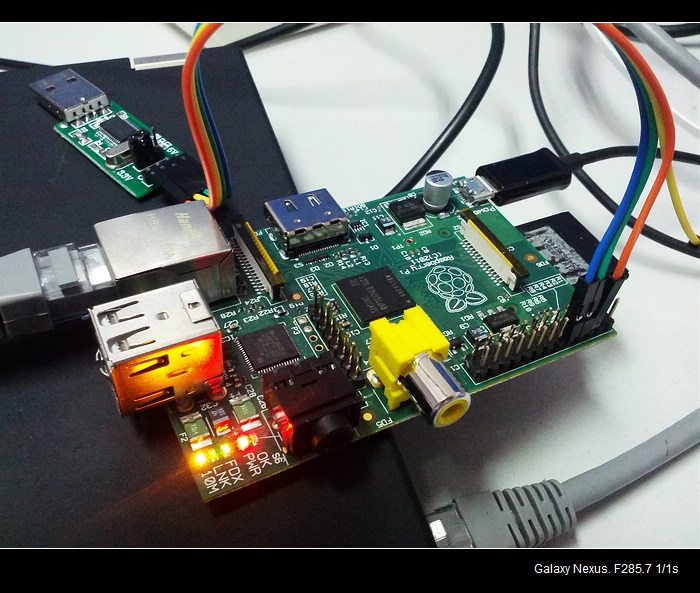
连上USB键盘,使用HDMI连接显示器,家里没显示器,没电视,公司的显示器没有HDMI接口,只有悲催的DisplayPort接口,85大洋买了个转接头,依然没点亮,悲剧悲剧。。。回家翻出山寨投影仪,接上HDMI,使用输出5V/1A的miniUSB当电源(不要用电脑口输出当电源),上电,成功点亮。(后来才知道用串口可以不用接显示器,详见下文)
 串口连接Raspberry Pi
先看一下接口定义
http://elinux.org/RPi_Low-level_peripherals
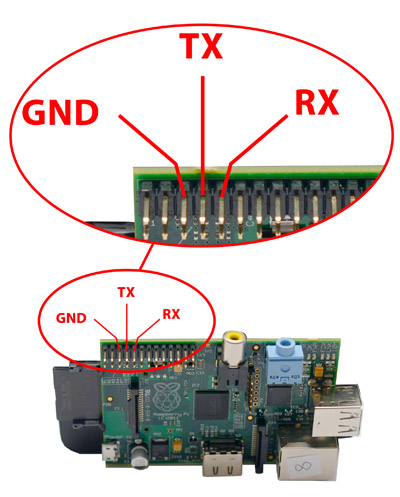
找个USB转TTL的小板子,GND接地,R接T,T接R,USB接电脑,
打开串口调试软件,或者使用新版的PUTTY,设置波特率等参数:
• Speed: 115200
• Bits: 8
• Parity: None
• Stop Bits: 1
• Flow Control: None
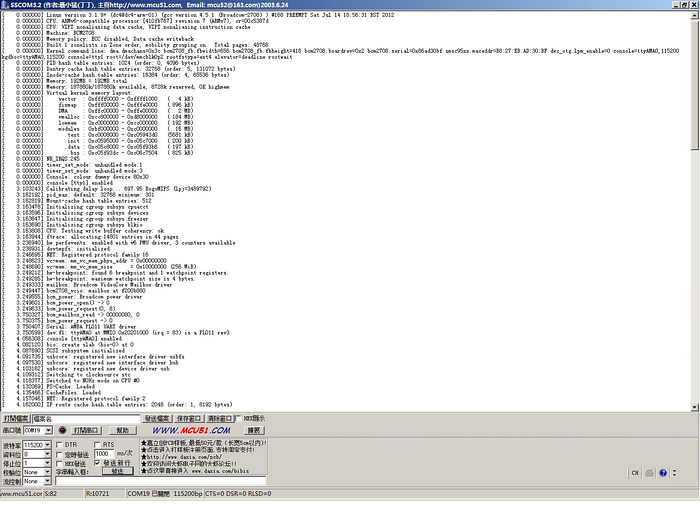

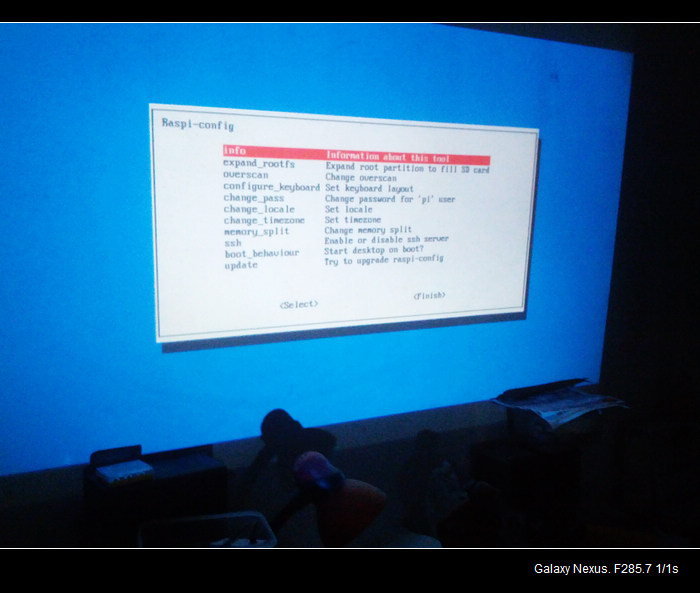
另:如果忘了密码,使用串口连上后,直接root就能登录。